Engine oil is a crucial component of optimal operation. Without oil, the metal parts that make up the complex engine geometry would heat up within mere minutes, causing the whole system to seize and fail. Checking your oil level takes two minutes and is the cheapest engine insurance there is. Here’s how to do it right.
How to Check Your Oil, Step by Step
- Park on level ground and turn the engine off. Wait a few minutes so oil drains back into the pan.
- Pop the hood and find the dipstick — usually a brightly colored (often yellow or orange) loop or handle.
- Pull the dipstick out and wipe it clean with a rag or paper towel.
- Reinsert it fully, then pull it out again and read the level.
- The oil film should sit between the two marks (MIN/MAX, ADD/FULL, or crosshatched zones). Below the lower mark means you need to add oil.
Read the Condition, Not Just the Level
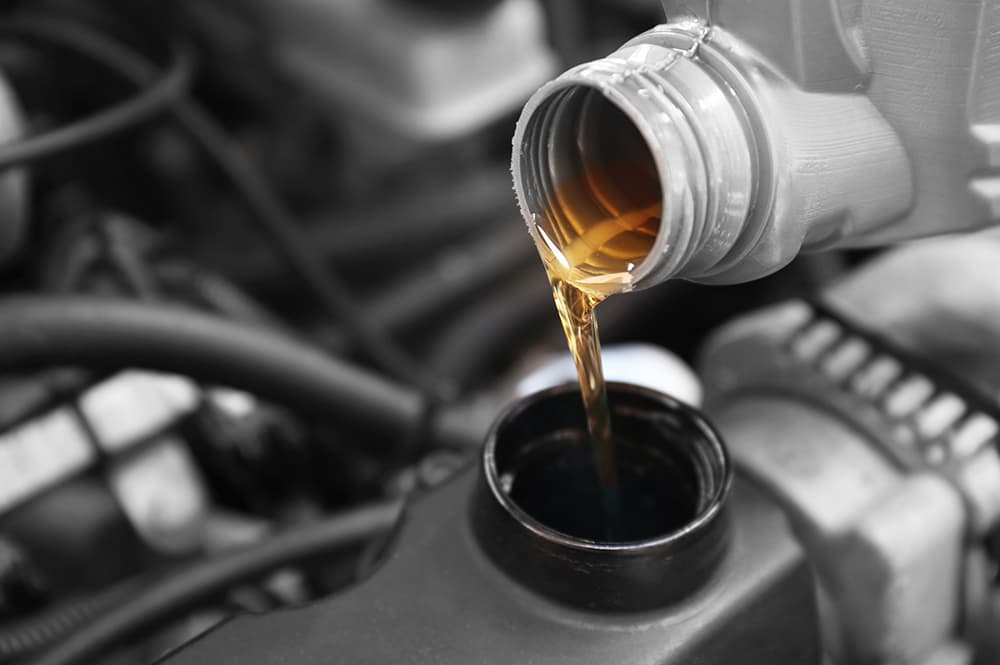
Fresh oil is amber and translucent. Dark brown to black oil is doing its job but aging; gritty, sludgy oil is overdue for a change. Milky or foamy oil can indicate coolant contamination — have that inspected immediately.
How Often Should You Check?
Once a month is a good habit, and always before a long road trip. Engines consume small amounts of oil normally, and Florida heat increases both consumption and the rate at which oil breaks down.
A Note on Electronic Oil Monitors
Some modern vehicles have no dipstick at all and report oil level through the dash menu. The reading is convenient, but it doesn’t tell you the oil’s condition — regular changes still matter.
Low, dirty, or just not sure? Drive in to your neighborhood Jiffy Lube of Florida. With a Signature Service Oil Change we handle the oil, filter, and a top off of other key fluids — and between services, our free top off policy has you covered.